
Window Cleaning Robot Maintenance Guide: Keep Your Robot Performing Its Best
A window cleaning robot can make glass maintenance easier, but it still needs regular care. This guide explains how to clean microfiber pads, protect suction systems, maintain spray nozzles, check safety ropes, care for backup batteries, inspect power cords, prevent streaks, clean sensors, store your robot correctly, and troubleshoot common robotic window cleaner problems.
How Do You Maintain a Window Cleaning Robot?
To maintain a window cleaning robot, wash or replace the cleaning pads regularly, wipe dust from the suction area, keep sensors clean, inspect the safety rope, check the power cord, clean spray nozzles if your model has them, avoid overusing cleaning solution, store the robot in a dry place, and follow the manufacturer’s instructions for backup battery care.
Window cleaning robots work on vertical glass using suction, cleaning pads, sensors, motors, cords, safety systems, and sometimes spray tanks. Because they operate against glass, dirt, dust, moisture, cleaning solution, mineral spots, pollen, fingerprints, pet marks, and grime can all affect performance.
Poor maintenance can cause streaks, slipping, weak suction, noisy movement, missed spots, dirty pads, clogged spray systems, cord damage, sensor errors, or shorter robot life. A simple routine can keep your robotic window cleaner working better for longer.
Quick answer: clean the pads after each use, keep suction and sensors free from dust, inspect the safety rope and power cord, use the correct amount of solution, and store the robot clean, dry, and protected.
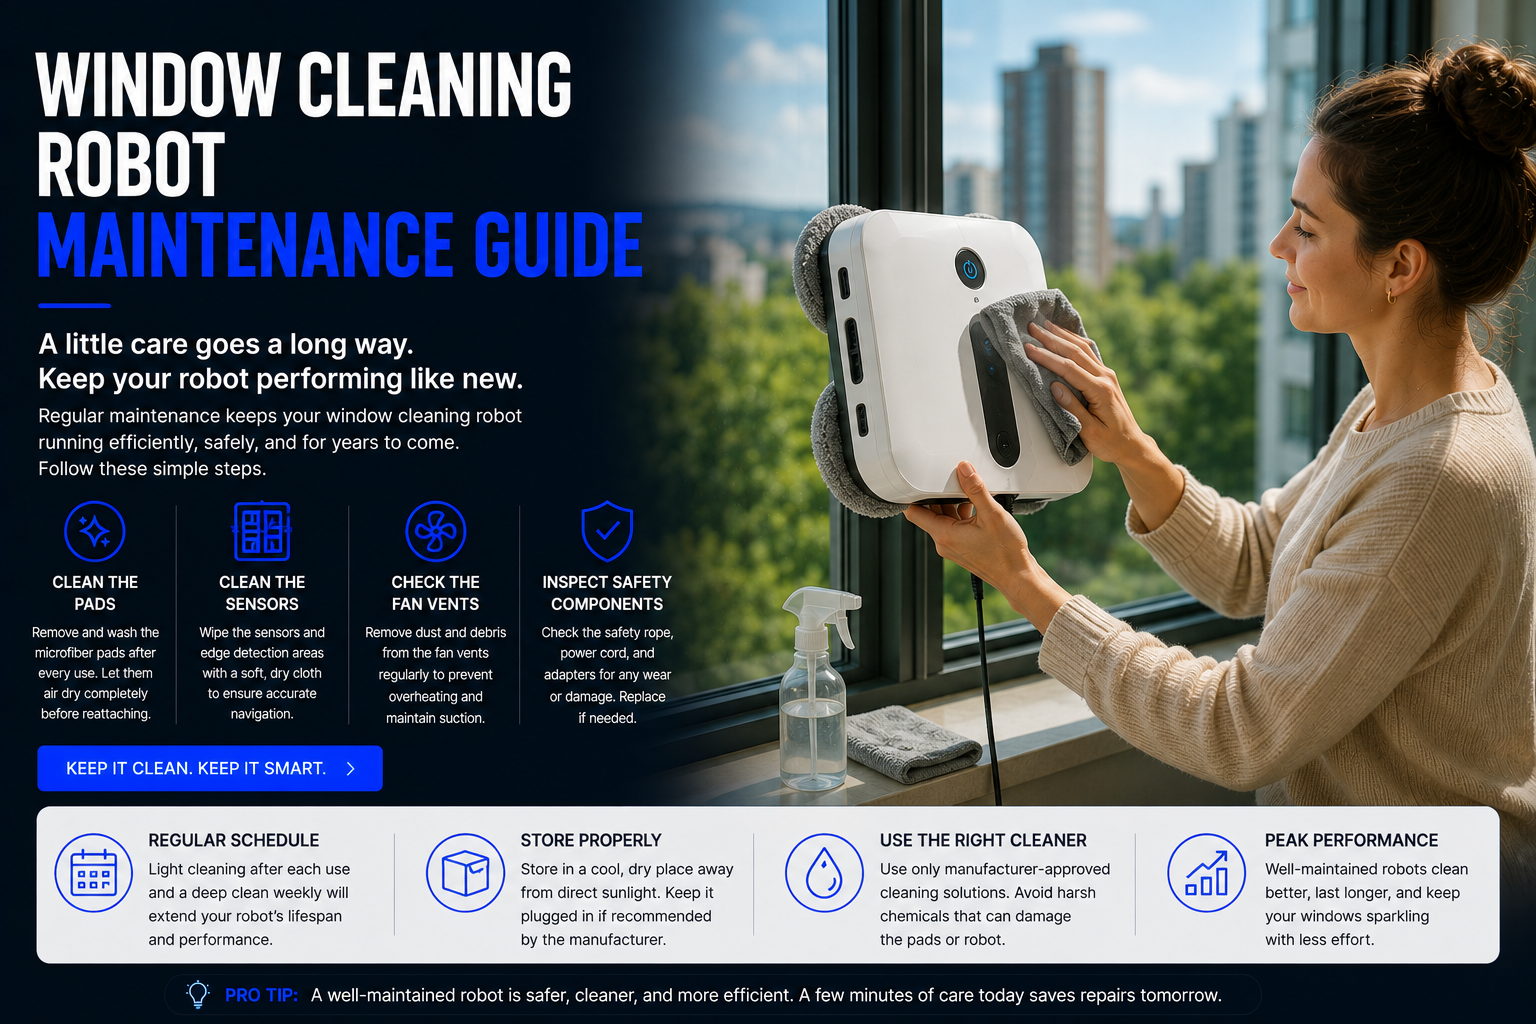
Window Cleaning Robot Maintenance Guide
Clean the Microfiber Pads After Every Use
Cleaning pads are one of the most important parts of a window cleaning robot. They collect dust, fingerprints, pet nose marks, pollen, water spots, and light grime. If the pads are dirty, the robot may spread streaks instead of cleaning the glass.
After each cleaning session, remove the pads and wash them according to the manufacturer’s instructions. Let them dry fully before storing or reusing them. If the pads become worn, rough, stained, or less absorbent, replace them.
Use the Right Amount of Water or Cleaning Solution
Too much liquid can cause streaks, slipping, poor suction, or uneven cleaning. Too little moisture can make the pads drag across the glass and leave dust behind.
Use only the amount recommended for your robot. Some models work best with water, some support approved cleaning solution, and some require lightly damp pads. Avoid harsh chemicals unless the manufacturer specifically allows them.
Keep the Suction Area Clean
Window cleaning robots rely on suction to stay attached to glass. Dust, hair, lint, pad fibers, or dried cleaning solution around the suction system can reduce grip and cleaning stability.
Before and after use, inspect the suction area. Wipe away debris with a soft dry cloth. Never block air vents or suction openings. Strong suction is both a performance feature and a safety feature.
Wipe Sensors and Edge Detection Areas
Sensors help the robot detect edges, glass boundaries, movement patterns, and sometimes frameless glass. Dirty sensors can cause navigation problems, missed spots, stopping errors, or unsafe movement.
Use a soft dry cloth to wipe sensor areas gently. Do not spray liquid directly into sensor openings, vents, buttons, or electronic areas.
Inspect the Safety Rope
The safety rope is especially important for high windows, exterior glass, apartment windows, balcony glass, and any area where a fall could damage the robot or create danger.
Check the rope for fraying, knots, weak spots, damaged clips, loose attachments, or wear. Replace the rope if it looks damaged. Always attach it to a secure anchor point before using the robot in elevated or risky positions.
Check the Power Cord and Adapter
Many window cleaning robots use plug-in power while cleaning. A damaged power cord can be dangerous and may interrupt suction or movement.
Before use, inspect the cord, adapter, plug, and extension setup. Look for cuts, kinks, exposed wires, loose connectors, or overheating signs. Store the cord loosely and avoid sharp bends.
Maintain the Backup Battery
Many window cleaning robots include a backup battery designed to keep the robot attached temporarily if power is interrupted. This battery is usually a safety backup, not the main power source.
Follow the manufacturer’s instructions for charging and storage. If the backup battery no longer holds charge, the robot may become less safe to use on vertical or high glass.
Clean the Spray Nozzle or Water Tank
If your window cleaning robot has a spray system, the nozzle or water tank can become clogged by minerals, dust, dried cleaning solution, or residue.
Empty the tank after use if recommended. Use approved liquid only. If spray becomes uneven, weak, or blocked, clean the nozzle according to the manual. Do not poke sharp objects into delicate spray parts unless the manufacturer instructs it.
Remove Dust from Wheels, Tracks, or Moving Pads
Depending on the design, your robot may use wheels, tracks, rotating pads, or movement mechanisms. Dust, lint, hair, and grime can affect movement and cause uneven cleaning.
Inspect moving areas regularly. Remove trapped fibers, wipe visible dirt, and make sure nothing blocks movement. Smooth movement helps the robot clean more evenly and avoid repeated errors.
Store the Robot Properly
Store your window cleaning robot in a dry, protected place away from direct sunlight, moisture, extreme heat, freezing temperatures, and household chemicals.
Do not store the robot with wet pads attached. Remove and dry pads first. Keep cords, ropes, pads, and accessories organized so the robot is ready for the next cleaning session.
Window Cleaning Robot Maintenance Schedule
| Maintenance Task | How Often | Why It Matters | Best For |
|---|---|---|---|
| Wash cleaning pads | After every use | Prevents streaks and dirt spreading | All window cleaning robots |
| Wipe suction area | Before and after use | Maintains grip and safety | Suction-based window robots |
| Clean sensors | Weekly or as needed | Improves navigation and edge detection | Smart and frameless-compatible models |
| Inspect safety rope | Before every elevated use | Helps prevent fall damage | High windows and apartments |
| Check power cord | Before each use | Prevents power interruption and safety problems | Plug-in window robots |
| Check backup battery | Monthly or as directed | Supports emergency attachment during power loss | Robots with backup batteries |
| Clean spray nozzle | As needed | Prevents uneven spray and clogs | Spray window cleaning robots |
| Store dry | After every use | Protects pads, electronics, and suction system | All robotic window cleaners |
Most Important Parts to Maintain
Cleaning Pads
Pads directly touch the glass. Clean pads reduce streaks and improve dust, fingerprint, and smudge removal.
Suction Motor Area
Suction keeps the robot attached to glass. Dust or blocked vents can affect grip and performance.
Sensors
Sensors help with navigation, edge detection, route control, and safer movement across glass.
Safety Rope
A strong safety rope protects the robot if it loses suction or detaches during elevated cleaning.
Power Cord
A healthy cord provides reliable power and supports consistent suction during cleaning.
Spray System
Spray nozzles and tanks need care to prevent clogs, uneven misting, and residue buildup.
How to Prevent Streaks
Streaks are one of the most common complaints with window cleaning robots. In many cases, streaks are not caused by the robot itself. They are caused by dirty pads, too much cleaning solution, old residue on the glass, heavy grime, or using the robot on a surface that needs pre-cleaning.
For better results, start with clean pads, use the correct amount of water or solution, avoid soaking the glass, and run the robot on glass that is not extremely dirty. If the glass has thick dust, grease, bird mess, mineral spots, or sticky residue, clean those areas manually first.
Some users get better results by doing a dry dust pass first and then a lightly damp cleaning pass. The best method depends on your robot and glass condition.
Maintenance for Different Window Types
Framed Windows
Framed windows are usually easier for robots to clean, but dust can collect along edges. Keep pads clean and avoid pushing debris into corners.
Frameless Glass
Frameless glass depends more on edge detection. Keep sensors clean and confirm your robot is designed for frameless surfaces.
Patio Doors
Patio doors often collect fingerprints, dust, and pet marks. Clean pads frequently because large glass doors can dirty pads quickly.
Apartment Windows
Apartment use requires careful safety rope setup, cord management, and secure anchoring, especially near balconies or exterior-facing glass.
High Windows
High windows require the most safety attention. Inspect suction, rope, backup battery, cord, and attachment points before every use.
Mirrors and Shower Glass
Mirrors and shower glass need clean pads to avoid streaks. Shower glass with soap scum or minerals may need manual pre-cleaning first.
Common Window Cleaning Robot Problems and Fixes
| Problem | Common Cause | What to Try |
|---|---|---|
| Robot leaves streaks | Dirty pads, too much solution, dirty glass | Wash pads, use less liquid, pre-clean heavy grime |
| Robot slips | Weak suction, too much liquid, incompatible glass | Clean suction area, reduce moisture, check compatibility |
| Robot stops early | Sensor issue, edge detection problem, power interruption | Wipe sensors, check cord, restart according to manual |
| Spray is weak | Clogged nozzle or empty tank | Refill tank and clean nozzle as instructed |
| Robot misses spots | Simple navigation or dirty sensors | Clean sensors and rerun cleaning cycle |
| Robot is loud | Suction motor or surface friction | Check pads, suction area, and surface condition |
| Robot will not attach | Dust, wet glass, poor suction, unsuitable surface | Dry glass, clean suction area, verify compatible glass |
| Robot falls or detaches | Improper setup, suction failure, no safety rope | Stop use, inspect robot, use safety rope, follow manual |
How to Make a Window Cleaning Robot Last Longer
- Clean pads after every use: Dirty pads cause streaks and reduce cleaning quality.
- Keep the suction area clear: Dust and lint can reduce grip.
- Use approved liquids: Harsh chemicals can damage pads, tanks, or seals.
- Do not oversaturate glass: Too much liquid can cause slipping and streaks.
- Inspect the safety rope: Replace damaged ropes or clips.
- Store cords loosely: Avoid sharp bends, tight wrapping, or pulling.
- Protect from heat and moisture: Store the robot in a dry protected location.
- Keep sensors clean: Dirty sensors can affect navigation and edge detection.
- Use on compatible glass only: The wrong surface can damage the robot or create safety issues.
- Follow backup battery instructions: Safety batteries need proper care to remain useful.
Window Cleaning Robot Maintenance vs Manual Window Cleaning
Manual window cleaning requires cloths, squeegees, spray bottles, ladders, reaching tools, and physical effort. A window cleaning robot reduces the manual wiping but adds its own maintenance tasks, such as washing pads, checking suction, inspecting cords, and cleaning sensors.
A robotic window cleaner is easier for routine maintenance, especially on large glass doors, mirrors, and repeated cleaning tasks. Manual cleaning is still better for corners, edges, thick grime, exterior buildup, sticky residue, and deep cleaning.
For many households, the best system is both: use the window robot for regular maintenance and manual tools for occasional detail work.
Seasonal Window Robot Maintenance
Seasonal changes can affect window cleaning. Spring pollen, summer dust, fall leaves, winter condensation, rain spots, and hard water marks can all change how often your robot needs pad cleaning and how much pre-cleaning your windows need.
Before heavy cleaning seasons, inspect pads, cords, spray nozzles, safety rope, suction area, and backup battery. If you have not used the robot for months, test it on a safe low window before using it on high glass.
At the end of a season, clean the robot, wash and dry the pads, empty any water tank, organize the cord and rope, and store everything in a dry protected place.
Future of Window Cleaning Robot Maintenance
Window cleaning robot maintenance will likely become easier as sensors, AI navigation, suction systems, spray technology, and smart diagnostics improve. Future models may include better pad cleaning reminders, automatic suction checks, app-based maintenance alerts, improved edge detection, and smarter liquid control.
As smart home robots become more connected, window cleaning robots may eventually work alongside robot vacuums, robot mops, robotic pool cleaners, robot lawn mowers, home monitoring robots, home assistant robots, and AI home robots.
The long-term trend is toward safer, smarter, easier-to-maintain home robots that handle repetitive cleaning tasks with less guesswork.
Related Window Cleaning Robot Guides
Related Home Robot Guides
Window Cleaning Robot Maintenance FAQ
How often should I clean window robot pads?
You should clean the pads after every use or whenever they become dirty. Clean pads help prevent streaks.
Why does my window cleaning robot leave streaks?
Streaks are usually caused by dirty pads, too much cleaning solution, heavy grime, or glass that needs pre-cleaning.
Can I use regular window cleaner in a window robot?
Only use cleaning solution approved by the manufacturer. Some robots work best with water or lightly damp pads.
Why is my window robot slipping?
Slipping can be caused by weak suction, too much liquid, dirty suction areas, incompatible glass, or incorrect setup.
How do I clean the suction area?
Use a soft dry cloth to remove dust, lint, hair, pad fibers, or dried residue from suction openings and surrounding surfaces.
Do window cleaning robots need sensor cleaning?
Yes. Dirty sensors can affect edge detection, navigation, stopping behavior, and cleaning coverage.
How do I maintain the safety rope?
Inspect it for fraying, weak spots, loose clips, or damage before use. Replace it if it looks worn.
What happens if the power goes out?
Many models use a backup battery to stay attached temporarily, but you should follow the manual and use the safety rope.
Can I leave wet pads on the robot?
No. Remove wet pads, wash them, and let them dry before storage to prevent odor, residue, and damage.
How do I store a window cleaning robot?
Store it clean and dry, away from heat, moisture, direct sun, freezing temperatures, and harsh chemicals.
How do I clean a spray nozzle?
Follow the manufacturer’s instructions. Avoid sharp tools unless the manual specifically allows them.
Why does my robot miss spots?
Missed spots may be caused by simple navigation, dirty sensors, glass shape, edge detection limits, or poor pad contact.
Can maintenance improve suction?
Yes. Cleaning suction areas, vents, pads, and glass can help the robot attach and move more reliably.
Do window robots need replacement pads?
Yes. Pads wear out over time and should be replaced when they no longer clean well.
Can I use a window robot on very dirty glass?
It is better to pre-clean very dirty glass first. Robots are usually best for routine maintenance cleaning.
Why is my robot louder than before?
Noise can come from dirty pads, blocked suction, surface friction, debris in moving parts, or normal motor operation.
Should I clean the window before using the robot?
If the window has heavy dirt, bird mess, sticky residue, or mineral buildup, pre-clean problem areas first.
Can poor maintenance make the robot unsafe?
Yes. Dirty suction areas, damaged ropes, weak backup batteries, and bad cords can reduce safety.
How long do window cleaning robots last?
Lifespan depends on build quality, usage, pad care, suction motor condition, battery care, cord care, and storage.
What is the most important maintenance task?
Cleaning pads after every use is the most important routine task because dirty pads cause most streaking problems.
Shop Window Cleaning Robots and Accessories
Proper maintenance helps your window cleaning robot clean better, stay safer, reduce streaks, and last longer. Compare robotic window cleaners, replacement pads, spray window robots, safety-focused models, high-window cleaning robots, apartment window robots, and home maintenance robots before choosing the best option for your glass.
Shop Window Cleaning Robots